Ham Shack Layout: Ergonomics, Cabling and Station Organisation
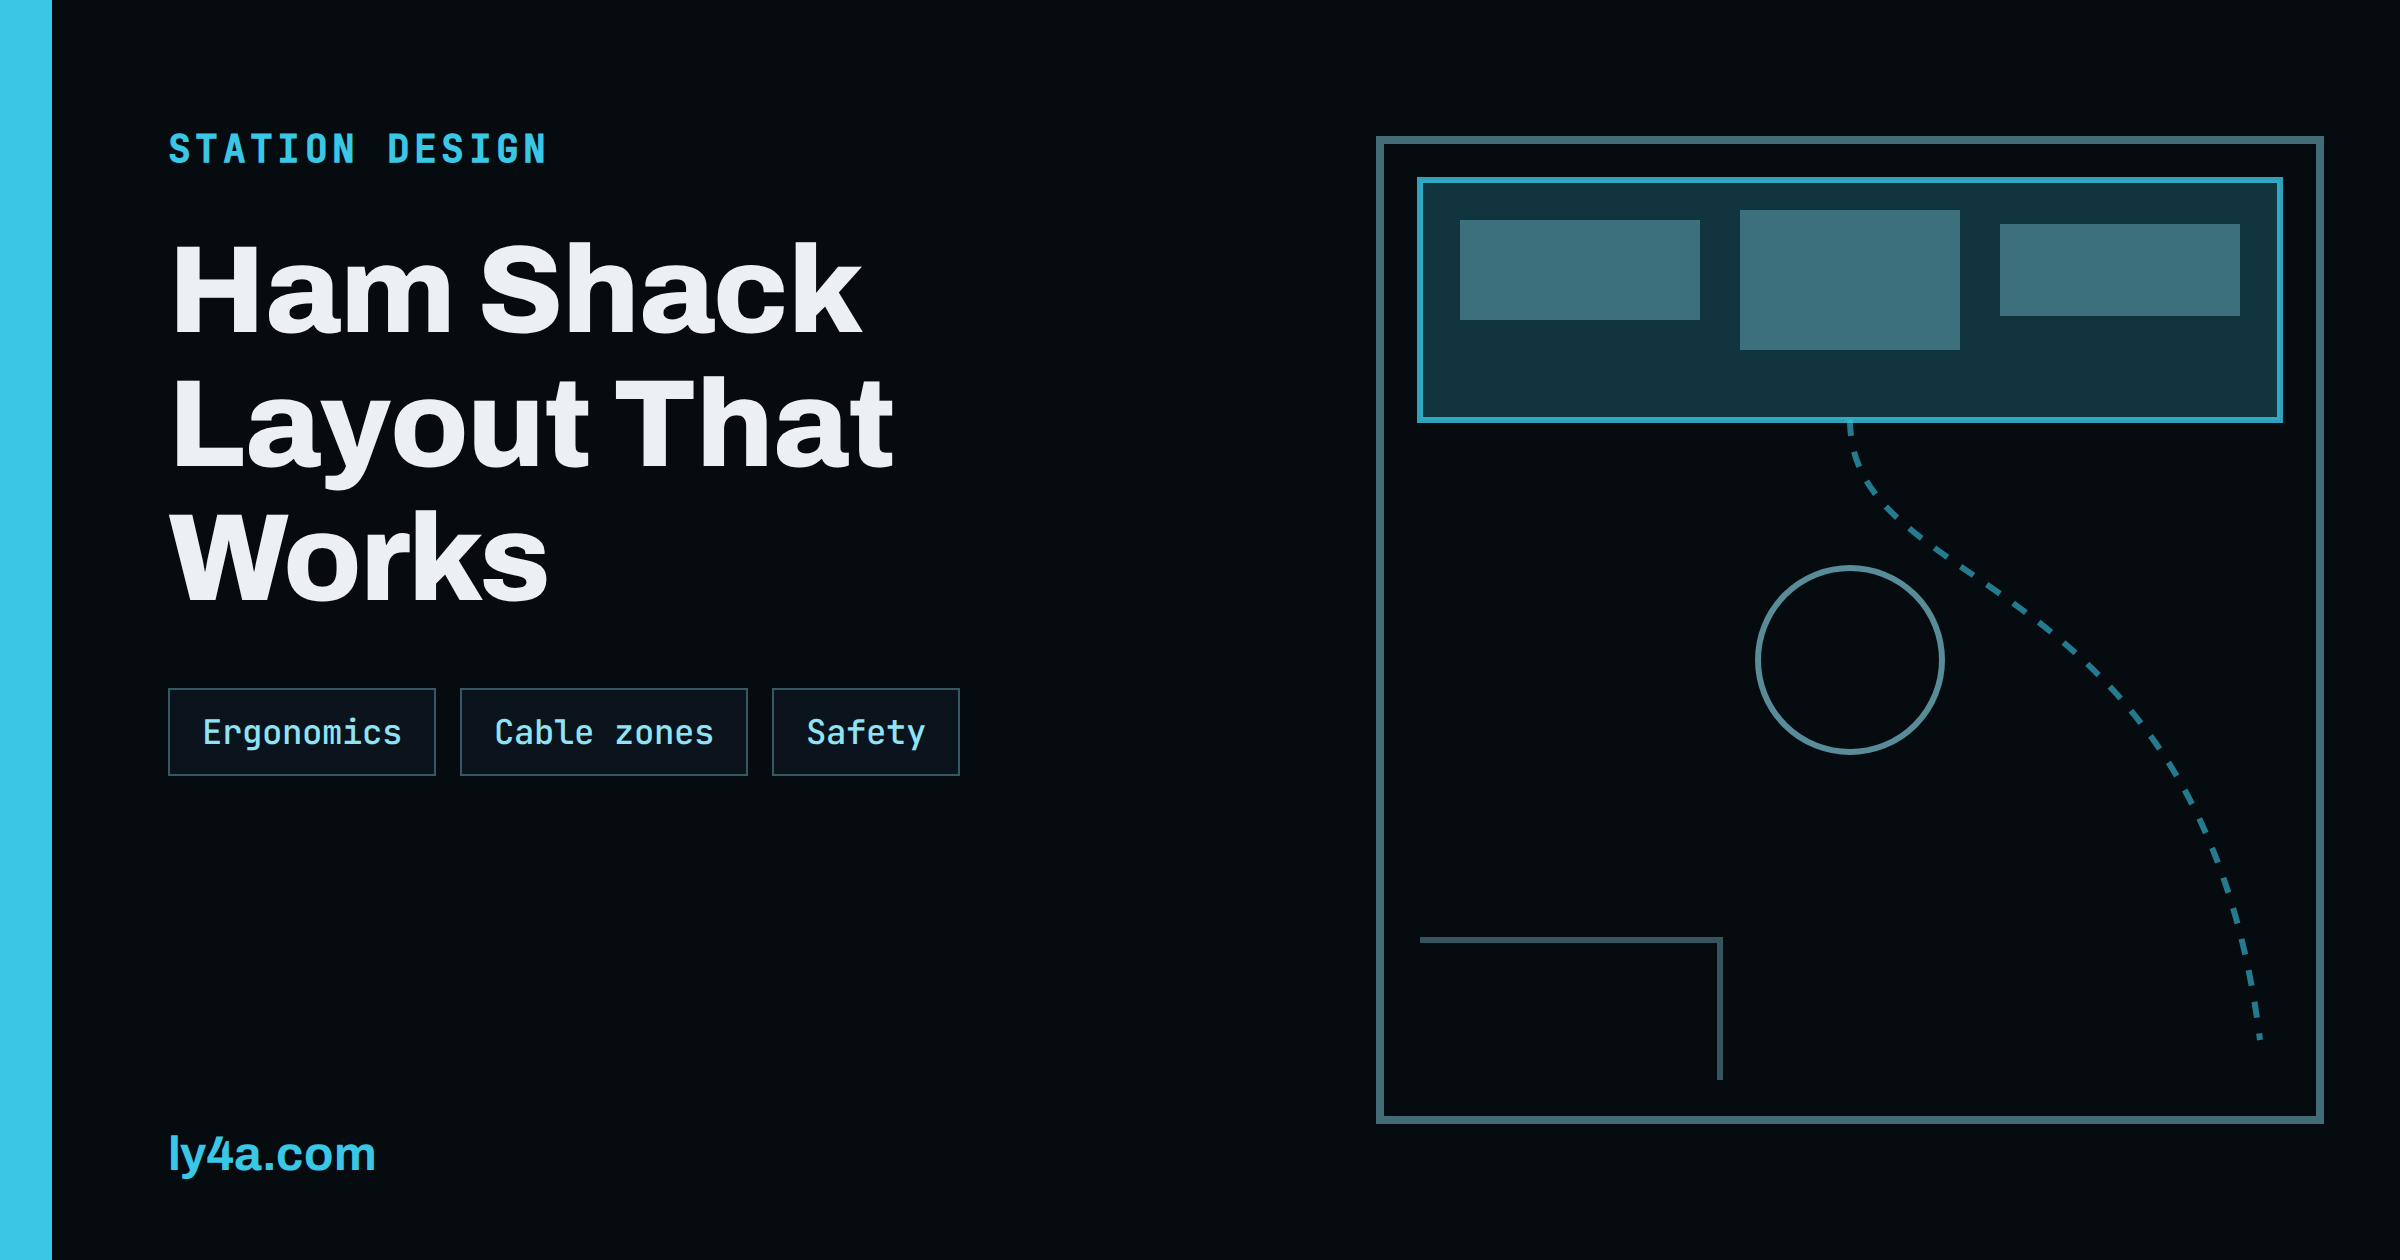
Most hams spend more money on antennas and radios than on the desk they sit at, and then wonder why long contests leave them stiff and long evenings feel cluttered. A good ham shack layout costs very little compared with a new transceiver, yet it improves comfort, safety, noise levels and the number of contacts you make. This guide walks through how to plan a shack from the operating position outwards: desk and seating ergonomics, where the radio, amplifier, computer and power supply should go, how to route power, RF and data cables so they do not interfere, what to label, and which safety measures every shack should have.
The advice is deliberately general, because shacks range from a corner of a bedroom to a dedicated outbuilding. Use the principles and adapt them to your own space and equipment manuals.
Start With How You Operate
Before you move any equipment, write down what you do at the station. A casual FM operator, an FT8 night owl, a CW contester and a station that runs remote logging software all use the desk differently. Answer a few questions:
- Do you spend hours at the desk, or short sessions?
- Do you use a computer for logging, digital modes or rig control?
- Do you use a key, a paddle, a microphone or a headset with a foot switch?
- Do you run an amplifier or a second radio?
- Do you test and build equipment in the same room?
The answers tell you what has to be within arm’s reach, what can live at the side or behind you and what belongs on another bench. Equipment you touch every few minutes, such as the tuning knob and the paddle, should be at the centre. Things you adjust occasionally, such as the amplifier switches, can sit to one side.
Desk and Seating Ergonomics
Ergonomics sounds like a luxury, but long operating sessions on a poor setup lead to sore shoulders, wrists and necks. A few simple principles apply to any shack:
- Seat height. Adjust the chair so your feet rest flat on the floor, or a footrest, and your knees are roughly level with your hips. A seat that is too high puts weight on the thighs, and one that is too low tilts the pelvis.
- Desk height and depth. When your hands rest on the desk, your elbows should hang close to your sides with your forearms roughly level. A desk that is too high lifts the shoulders. It should also be deep enough that the monitor sits at a comfortable distance.
- Monitor position. Place the main monitor straight ahead with the top of the screen near eye level, so you look slightly down rather than up. Put a second monitor, for a logger or waterfall, close beside the first so the head turns rather than the whole torso.
- Radio position. Put the transceiver where you can reach the main knob and read the display without leaning. Tilt the front panel toward you with the built-in feet or a wedge.
- Key or paddle. Mount the key or paddle on a heavy base, in line with your forearm, so the wrist is neutral. Put a mat or a weight under it so it does not walk across the desk.
- Breaks. Stand and move every hour or so. A contest weekend rewards stamina, and stamina begins with posture.
Lighting matters, too. Use a lamp that lights the desk and the logbook without causing glare on the screens, and consider a dimmer so the shack is comfortable at night. Keep the room cool enough for people and equipment. Transceivers and amplifiers produce heat, and a cramped shack in summer can become uncomfortable fast.
Zone Your Shack
Think of the shack as a set of zones, each with a job. The following plan works for most layouts.
| Zone | What belongs there | Layout tip |
|---|---|---|
| Operating position | Main transceiver, key or microphone, headset, logging screen | Centre it in front of the chair; keep everything you touch often within reach |
| Radio shelf or rack | Amplifier, tuner, switches, second radio, rotator control | Use a shelf above or to the side; leave space behind for airflow and cables |
| Computer and data | PC, interface, sound card, USB hub | Keep the PC away from the receiver and its antenna feed to reduce noise |
| Power | Power supply, fuses, distribution, master switch | Put it low, ventilated and reachable; label every circuit |
| Bench | Soldering, test equipment, spare parts | Prefer a separate surface, so test gear and solder do not clutter the operating desk |
| Antenna entry and grounding | Coax entry panel, lightning arrestors, ground bus | Place near an outside wall; keep the ground path short |
If the shack is only a corner of another room, the same ideas apply on a smaller scale. A shelf unit over the desk can take the amplifier and tuner, a power strip can live under the desk and a small box can hold the bench items. The important thing is to avoid mixing categories: mains cables with coax, test gear with the keyboard, spare parts with the logbook.
Cable Management Without Noise
Cables are where a neat shack becomes a quiet shack. The goal is to separate three kinds of cable, because each behaves differently.
- Power cables. Mains leads and high-current DC cables carry noise from switching supplies and can induce hum in audio cables. Keep them together, away from coax, and cross other cables at right angles rather than running in parallel.
- RF cables. Coax carries your transmitted energy, so it can induce voltage into nearby wiring. Keep coax runs as short as practical, avoid coiling excess cable into tight loops, and keep it clear of computer cables.
- Data and audio cables. USB, CAT control, serial and audio leads are the most sensitive to RF. Use shielded cables with ferrite cores close to the equipment, and keep them away from feedlines.
Where cables must cross, cross them at ninety degrees. Where the same cable has to run near the transmitter, add a ferrite choke. The guide to common-mode chokes explains how current on the outside of a cable creates most RF problems in a shack, and how to choose a choke that suits the band. A few chokes at the right places often make more difference than any amount of rearranging.
Power supply choice affects noise too. Some switch-mode supplies generate interference that you hear on the receiver, and the RSGB’s page on equipment you may need notes that switched-mode supplies can be smaller, lighter and often less expensive, but some produce interference signals, so look for models with low radio-frequency interference. Our comparison of linear versus switching power supplies covers how to choose and where to place one.
Safety Built Into the Layout
Safety is not an extra. The RSGB’s Safety in the Shack page lists several habits that should shape any layout. It points out that mains electricity can kill and that a 12-volt supply capable of a large current can cause a fire if a short circuit occurs without proper protection such as a fuse. Its recommendations, which are worth building in from the start, include:
- Control the shack’s wiring by one master switch, and make sure everyone in the house knows where it is.
- Keep a fire extinguisher suitable for electrical fires within reach.
- Use power wiring of the correct size and quality for the load, and connect all equipment to a good earth.
- When working on equipment, switch it off and unplug it if possible, discharge capacitors and avoid working alone on live equipment.
- Arrange antennas and feedlines so that nobody can touch them, because RF can cause burns and shocks, and keep people out of the near field of transmitting antennas.
Layout choices make these habits easier. Put a switched, fused power strip where you can reach it from the chair, so that one action kills everything. Fit an inline fuse near the battery or power supply on DC leads. Keep drinks off the desk or use a spill-proof cup, because liquid and mains do not mix. Route the RF feedline away from where you sit, and tie it down so that nobody leans on a live connector. For a full discussion of exposure limits and safe distances, see our guide to RF exposure safety.
The same principle applies outside the room. Bring coax into the building through a single entry panel with surge protection and a short, heavy connection to the station ground. The detailed approach is in our article on station grounding and lightning protection.
Label Everything
A shack with hundreds of cables seems tidy until something stops working. Labels turn a puzzle into a ten-second job.
- Label both ends of every coax with the antenna or device it serves, using heat-shrink labels, cable tags or tape that survives heat.
- Label power circuits on the strip or distribution block, with the name of the equipment connected and the fuse rating.
- Mark the antenna switch ports with the antenna names, and keep a one-page diagram of the system near the desk.
- Note the settings that rarely change, such as the CAT baud rate, the COM port numbers and the audio device names, in a notebook or a text file.
- Date the diagram. When you change something, update the paper.
It is much easier to troubleshoot a station with a diagram. When the radio is quiet one night, you can trace the path from the transceiver to the antenna in minutes instead of tugging at cables in the dark.
Computers, Audio and Hands-Free Operating
If your station relies on a computer, plan where it sits. Computers, monitors and USB hubs can all radiate noise. Keep them away from the receive antenna’s feedline and, where possible, away from the radio’s antenna jack. Use short, shielded cables for the interface and put ferrite chokes on USB and audio leads. If you operate digital modes, a quality interface with isolation reduces ground loops and hum.
For contest operating or long sessions, a headset and a foot switch free your hands for logging and keying. The guide to contest headset and footswitch setup shows how to wire the PTT and mic lines so that the setup is quiet and reliable. A small dedicated PC or single-board computer for logging also keeps the main desk tidy and can be tucked out of sight.
Planning for Growth and Small Spaces
Stations grow. A second radio, a bigger monitor or an amplifier tend to appear a year after the desk is finished. Leave some room: spare sockets on the power strip, unused ports on the antenna switch, a clear shelf and room behind the desk for a longer cable. Avoid gluing or screwing equipment permanently into place until the layout has proved itself for a few months.
In a small space, think vertically. Wall shelves, a monitor arm and a rack stand free up desk area. A fold-down desk or a portable shack in a box, with a radio, a power supply and an interface mounted on a board, lets you operate from a kitchen table and put everything away afterwards. Neatness helps in a shared home, and a quick setup makes it more likely that you will actually get on the air.
Common Mistakes
- Stacking everything on the desk. Heat builds up and the keyboard disappears. Use shelves.
- Running coax parallel to power cables. Noise gets in and RF gets out. Separate them and cross at right angles.
- No master switch. In an emergency you need to cut power in one move.
- Unlabelled cables. Every fault becomes a hunt.
- Ignoring posture. Aches build up over a season of contests.
- Placing the computer next to the receive antenna lead. The noise floor rises on every band.
The Bottom Line
A good ham shack layout puts the things you touch in front of you, zones the room by function, separates power, RF and data cables, and builds in safety: a master switch, proper fusing, earthing and antennas that nobody can touch. Spend an afternoon on ergonomics, a small amount on ferrites and labels and a little thought on growth, and the station becomes more comfortable, quieter and easier to fix. The best shack is not the biggest one, it is the one you want to sit down in and operate for hours.
Frequently Asked Questions
How big does a ham shack need to be?
A desk and a shelf are enough for a basic station. Size matters less than organisation: a clear operating position, separate zones for power and test gear and good cable routing.
Where should I put the power supply?
Somewhere ventilated and reachable, away from the receiving antenna’s feedline. The RSGB notes that some switched-mode supplies produce interference, so choose a low-noise model and test its position.
Should power and coax run together?
No. Keep power cables and coax separate, and cross them at right angles where they must meet. Parallel runs can transfer noise in both directions.
What safety items does every shack need?
A master switch that everyone knows, fusing on DC supplies, correctly sized wiring, a good earth, an extinguisher suitable for electrical fires and antennas and feedlines placed where nobody can touch them.
How do I reduce computer noise in the receiver?
Keep the computer and USB hub away from the antenna feedline, use shielded cables with ferrite chokes and try a different power adapter for any device that raises the noise floor.
Is it worth labelling cables in a small shack?
Yes. Even a handful of cables becomes confusing after a few changes. Labels and a simple wiring diagram save far more time than they cost.